 Docs
DocsSet up printable products
Choose the fastest correct setup path for a Shopify product or catalog family.
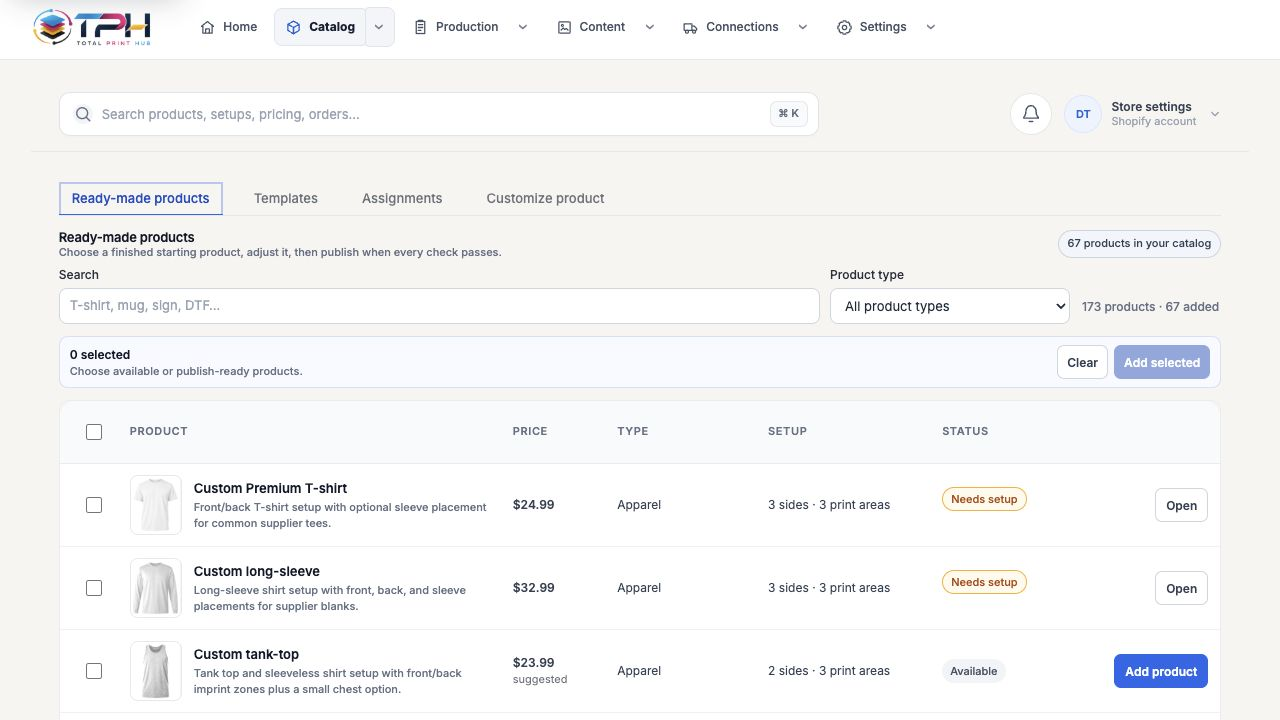
Three setup paths
- Assign a prepared family: use an editable color-changing template across matching products.
- Use Shopify product images: retain the actual product photography and map print regions to its views.
- Publish a prepared product: start from a Total Print Hub product blueprint, edit it, and sync the merchant-owned product to Shopify.
Assign at catalog scale
- 2.1
Open Products → Product Setup.
- 2.2
Choose a prepared family or an existing merchant template.
- 2.3
Choose product, collection, tag, vendor, product type, SKU, or supplier-style matching.
- 2.4
Preview the matched products before applying.
- 2.5
Save the assignment and open one matched product in Studio to verify colors, variants, sides, and regions.
Important color behavior
A reusable template can contain the complete colorable product shell, but Studio must still show only the color variants available on the product the customer selected. Product variants remain Shopify-authoritative.
Re-sync without losing another Shopify edit
- 4.1
Open the prepared product and review its local pending changes.
- 4.2
Choose Sync to Shopify.
- 4.3
If Shopify changed after the last successful sync, stop and review the conflict instead of overwriting it.
- 4.4
Choose Keep Shopify to leave the remote product unchanged while preserving the local draft, or choose Use Total Print Hub and confirm the overwrite.
- 4.5
Reload the linked product and verify title, description, media, variants, pricing, publication, and inventory state.